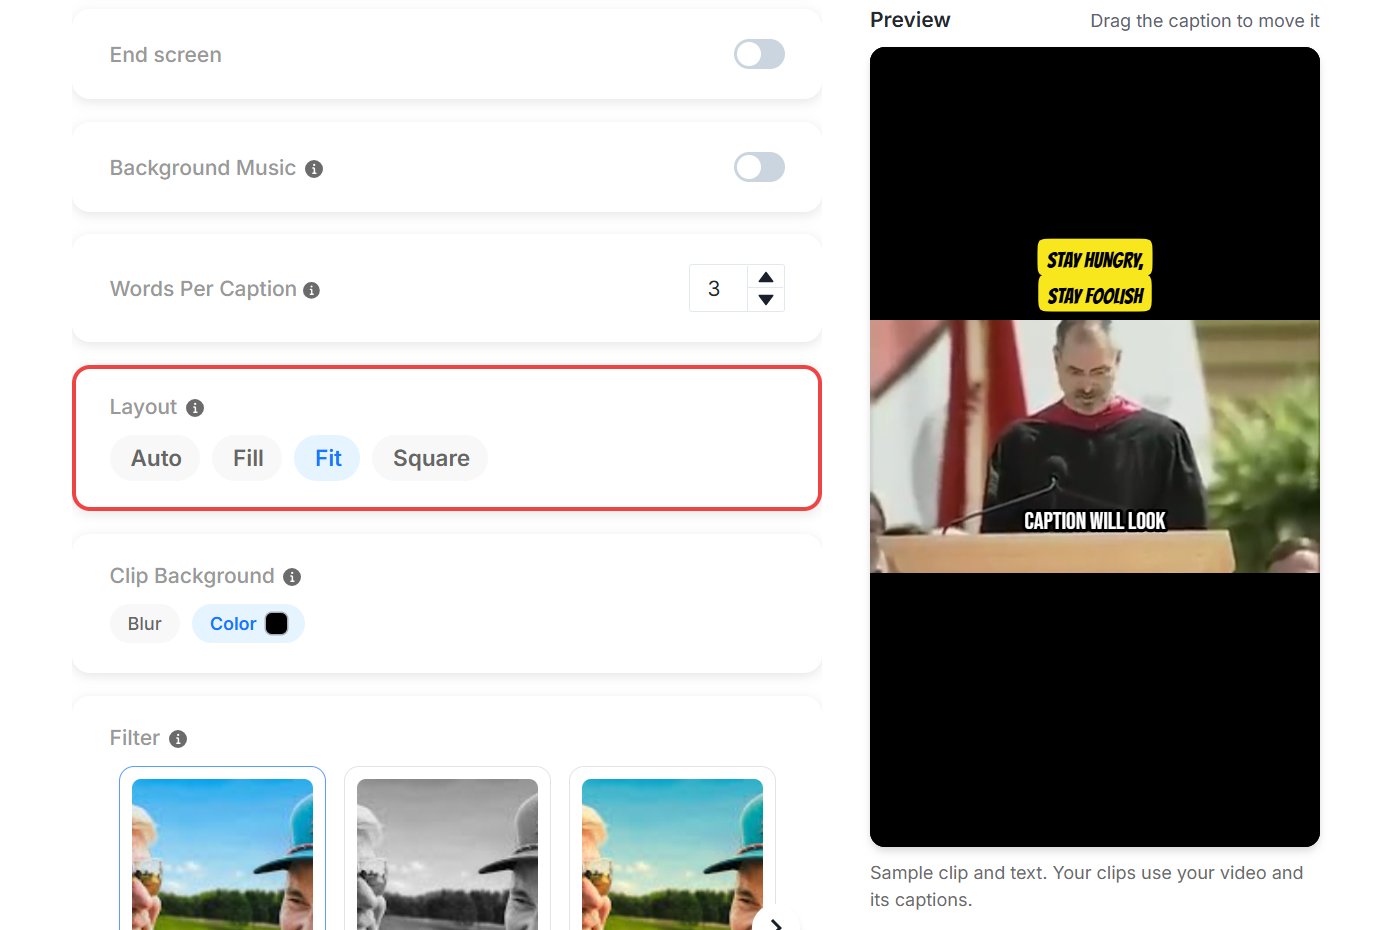

If a clip cuts off part of the picture, for example a streamer's gameplay, a second speaker, or slides, you can change how the video is framed in the vertical clip. You can do this for a clip you already made, or set it before you generate clips.
Change the framing of an existing clip
- Open your project and click the Edit (pencil) button under the clip.
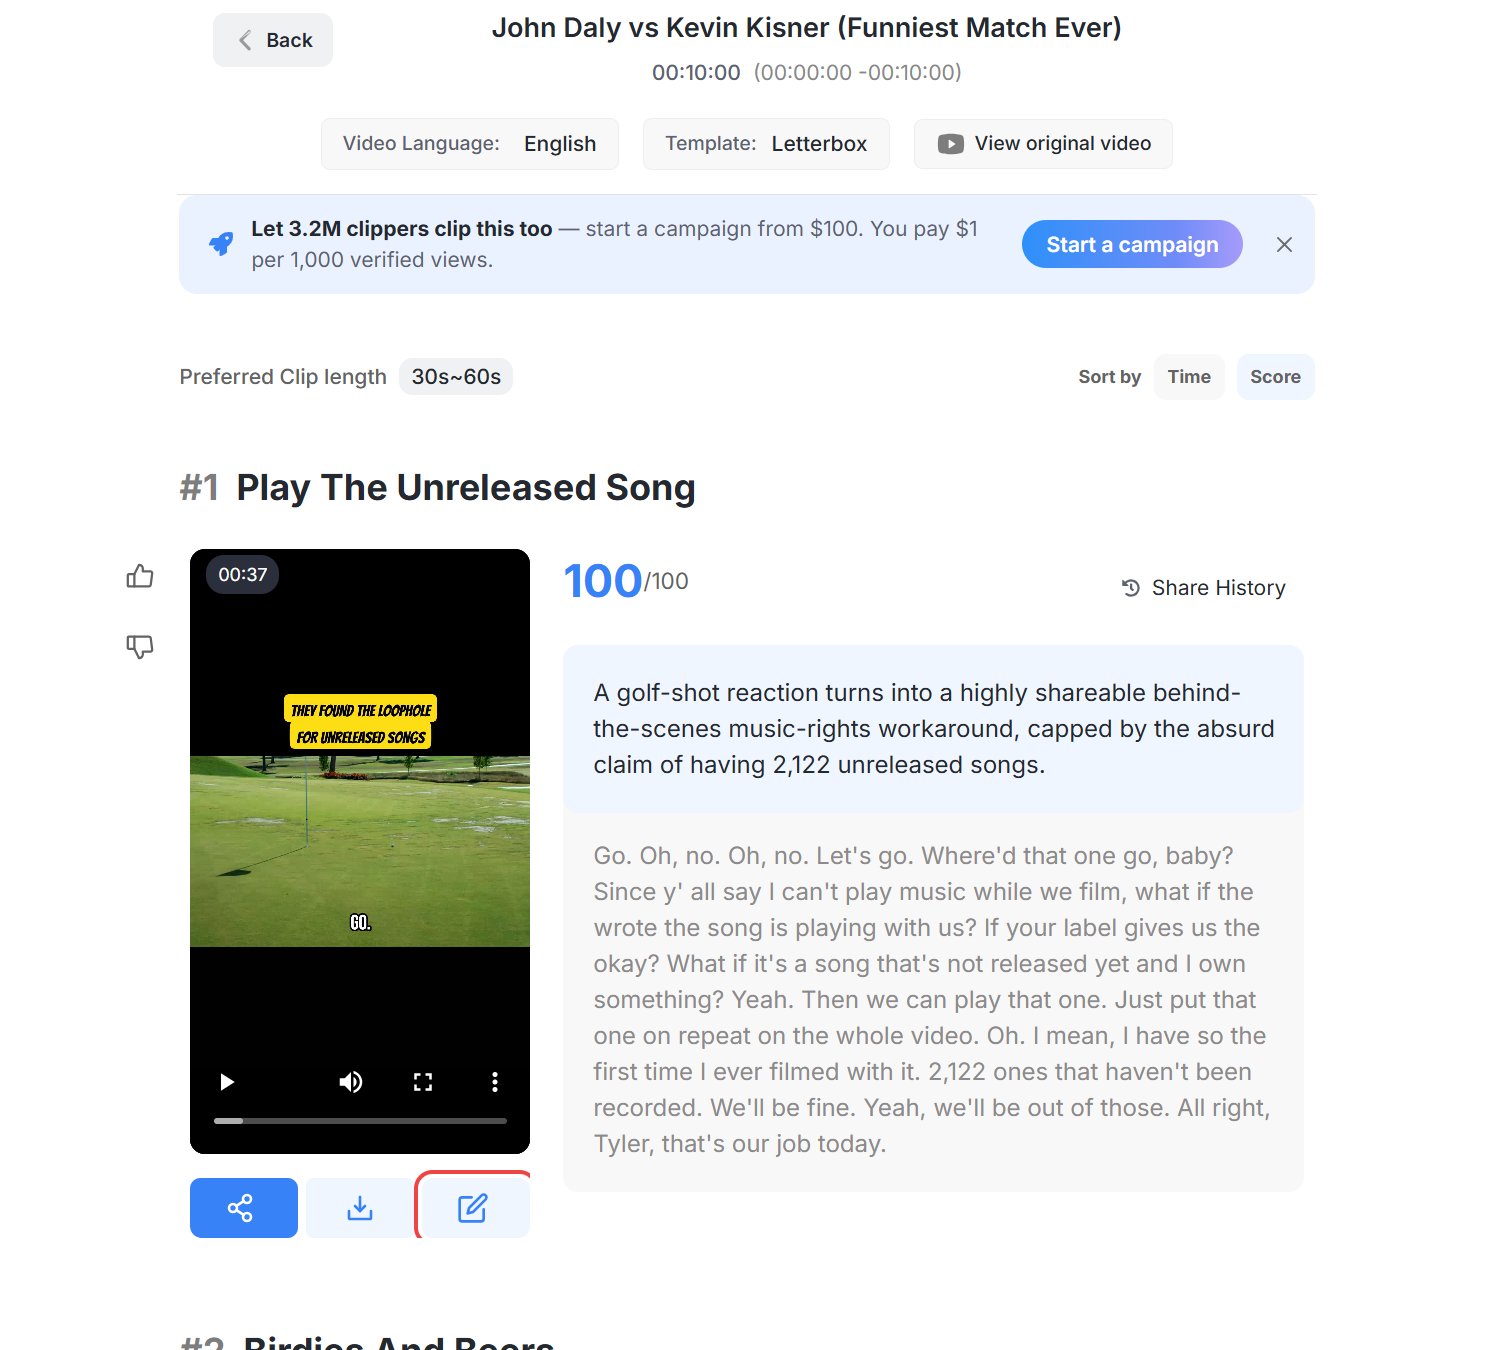
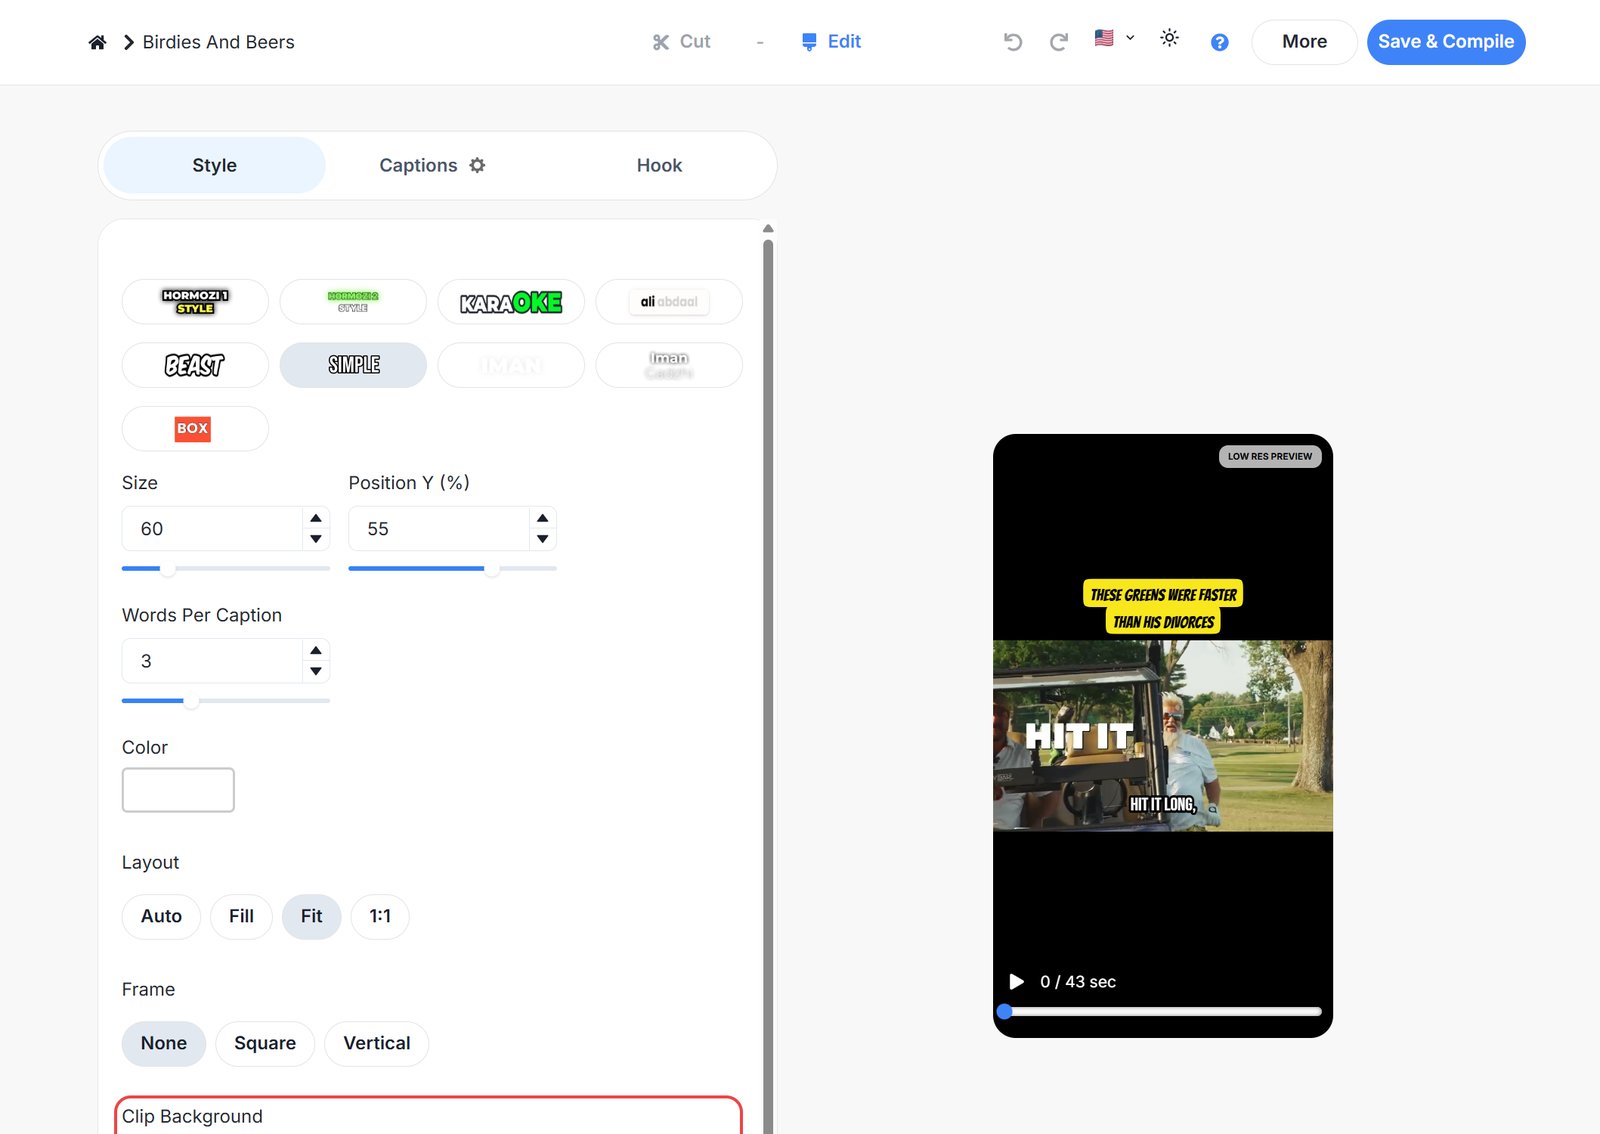
- Go to the Style tab and scroll down past the caption settings to Layout.
- Pick a layout:
- Auto: follows the face of the person speaking. When no face is found, it uses Fit.
- Fill: fills the vertical frame from the centre of the video. The sides are cut off.
- Fit: shows the whole video, with space above and below it.
- 1:1: shows the video as a square in the middle of the vertical frame.
- Click Save & Compile to apply the change.
The Letterbox template uses Fit, with captions inside the bottom edge of the video.
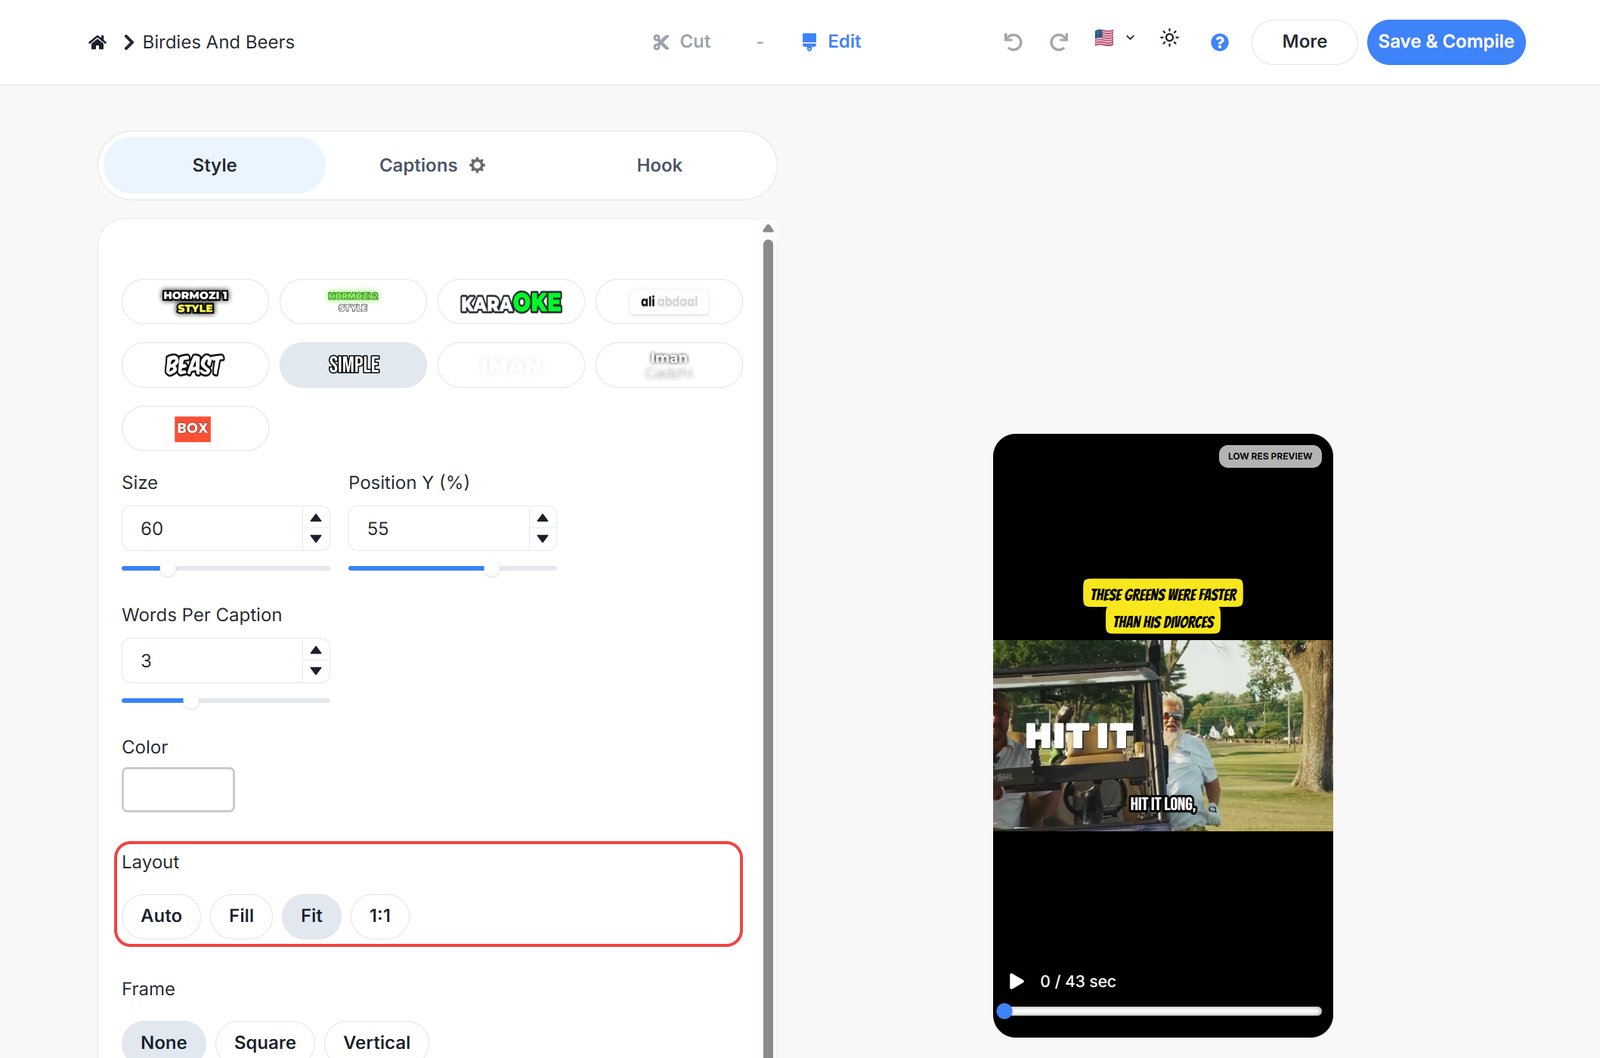
Tip: For gaming streams, reaction videos, screen recordings and videos without a visible speaker, choose Fit. Auto looks for a face, so it may zoom in on a small facecam and cut off the rest of the screen.
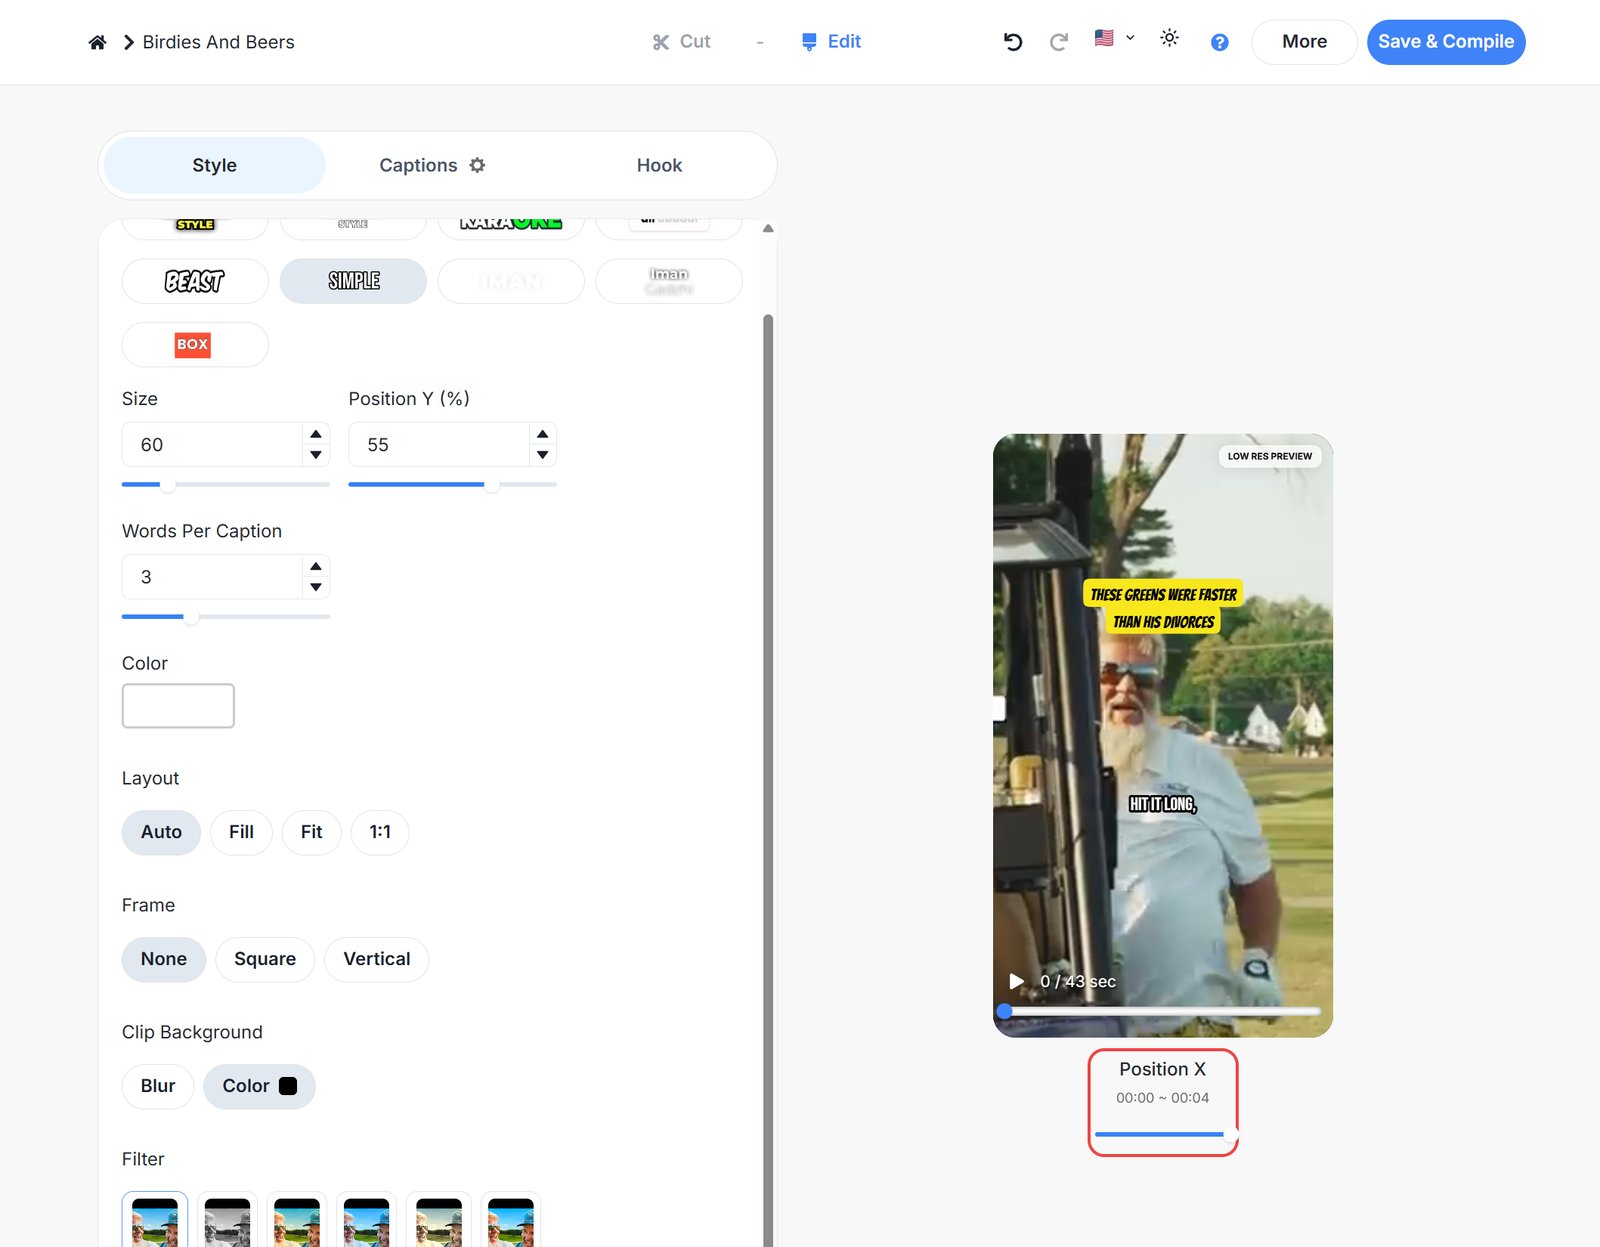
Move the crop left or right
With the Auto layout, a Position X slider appears below the preview. Drag it to move the visible area left or right, for example to keep a speaker who stands off-centre in the shot. Click Save & Compile when you're done.
Fill the empty space around the video
With Fit and 1:1, the video doesn't cover the whole vertical frame. Under Clip Background, choose what fills the space:
- Blur: a blurred copy of the video (default)
- Color: a solid colour you pick
You can also add a Frame around the video in the same section.
Set the layout before you generate clips
To use a layout for every clip in a new project, set it before you submit the video: on the Get Shorts page, open Advanced Options and choose a Layout (1:1 is called Square there). Channel Automations have the same Layout setting in their form.